
The oven floor was complete, the stone support wall was ready, and finally we had time to start on the oven proper. The general plan is to make a sand mound and pack the cob around it, let it dry a bit, and then cut out the door and scoop out the sand. Jennifer had researched this for years and had several books on earthen ovens. If you get only one, I'd suggest "Build your own Earth Oven" by Kiko Denzer and Hanna Field.
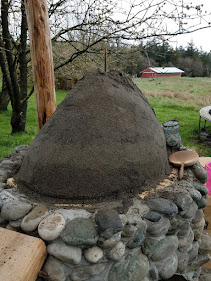
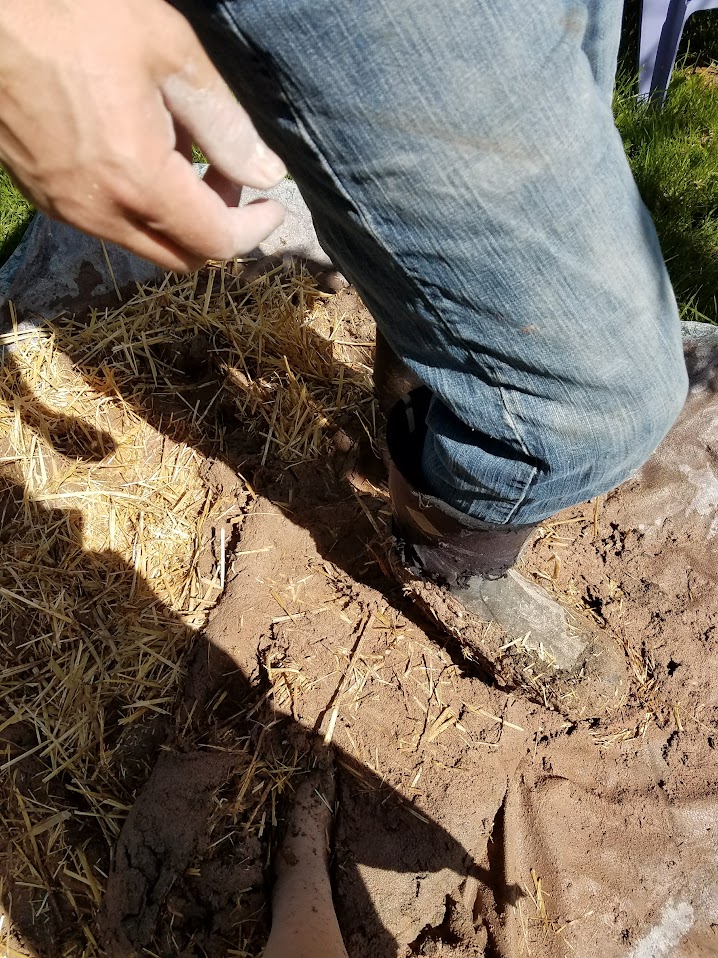
First, we brought several wheelbarrow loads of sand around and started piling and packing it into shape. We cut a slender stick to the desired height and put it in the sand at the high-point. In the end, we could not get it quite as tall as we wanted, but it was close enough.

It is suggested that you wrap the sand mound with newspaper in the end to help it keep shape and to keep the sand from coating the cob oven interior when you dig the sand out. In our case, it was windy, the paper blew all over, and we gave up on that idea. We also had issues with the sand slumping on the back side. We had some river sand that was a bit coarse and round and I think it does not pack as well as the finer crushed sand. To resolve this, we would build up a bit of sand, then we packed some cob around it, and continued up until the sand's angle of repose was within tolerance. We took a picture of the good side, so you can just imagine the other!
On the outside of the sand, you pack a layer of dense cob about 3-4 inches thick, working your way up to the top. There are tons of resources on how to make cob, and it seems there is a wide variety of mixtures that will work. In our case, we used about 1 part clay to 4 parts sand, and then mixed in a modest amount of straw. The straw will likely burn out on the first good firing, so it is mainly to hold it together while it dries. Jennifer asked around at the local Potters's association and we ended up with a large amount of scrap clay. We let that dry, broke it up with a hammer, and then added water to reconstitute it.
The sand came from the rock store, and the straw (not hay) from the local farm supply store.
To mix the cob, we placed a large glop of clay in the center of an 8x8 'blue' tarp, and then poured 4 equal sized clumps of sand around it. Then, kick some sand into the center and start stomping and twisting. When the mixture is flat, pick up one side of the tarp and pull it backwards to fold the mixture back into the middle. Repeat for a while. When the mixture seems right, we sprinkled straw fairly thick on top and stomped and folded some more. The basic test is to make a fist sized ball and drop it from shoulder height. If it splatters, it is too wet and you need more dry clay powder or sand or wait a day or two and let it dry out. If it crumbles, more clay or water.
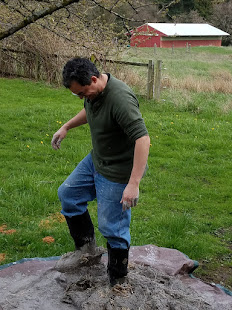
Don't wear yourself out all at once, it takes a lot of the stuff! It is easier to do two smaller batches than one overly huge one that you cannot easily roll over with the tarp.
Once we had a tarp full, it was time to start with the cob. We picked up double fist sized clumps, squished it together a bit, and added it to the wall. Press down and in and force the layers together by sticking your fingers down in the cob to weave the straw and mud together. Texture the outside well to allow the next layers to attach. We will be adding an insulating layer as well as a final decorative and protective cob layer on the outside, so also make sure you calculate the width such that you have room on the outside to add more layers.
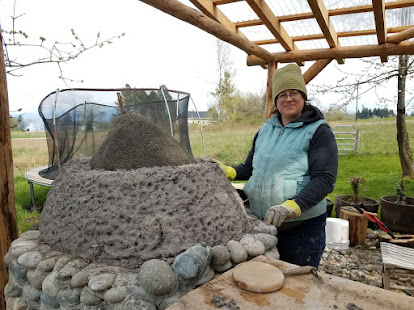
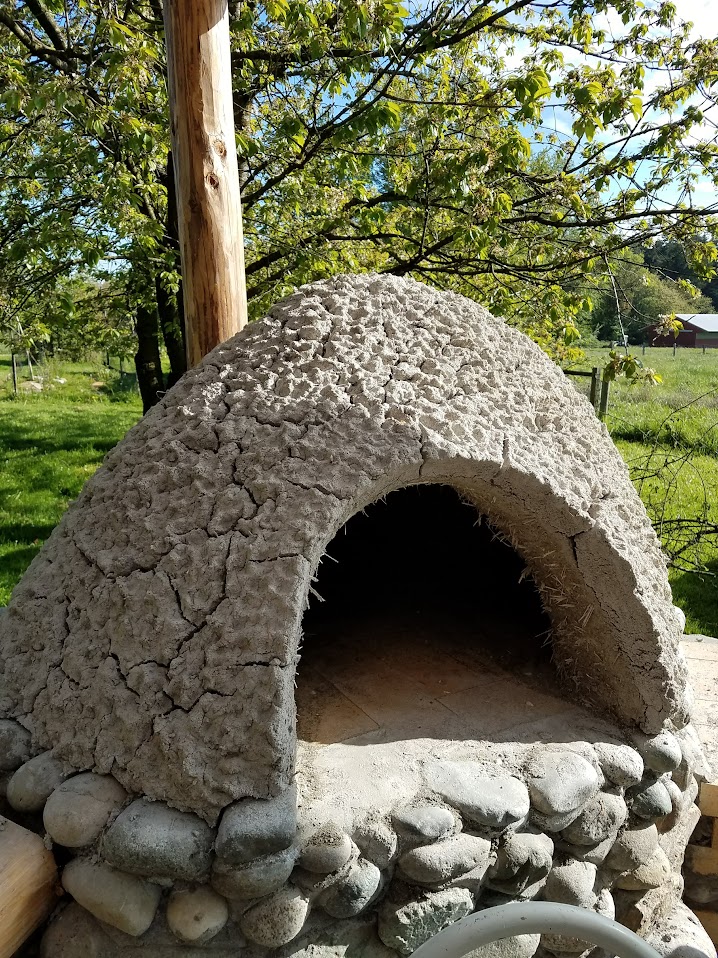
And finally we are done wit the first layer. We pull out the height-measurement stick and put the final cap of cob on the oven. One of the important ratios is the height of the inside of the oven to the height of the door. If the door is too high, heat will escape too quickly, and if it is too low, it will not burn well. The proper ratio is too have the oven door about 62% of the height of the oven. So, if the oven is 26 inches tall, then the door should be about 16 inches high. Jennifer sculpted the door into place but we had to wait a week or so to let it dry before we cut it out.


Next, time to remove the wet, heavy sand. The first part is easy, but then you tend to run out of buckets, and the final bit of cleaning is easiest if you have a sturdy child that you can lure into your oven and get them to clean it out. Maybe with gingerbread cookies or something!
Be careful of the inside walls, the cob is still quite wet at this point and will not hold up to abuse or heavy scraping.


When the cob is finally dry enough (leather hard or there about), the second layer goes on. This layer is made of clay slip and sawdust. It is not very strong, but it will dry somewhat fluffy and the air pockets (and wood, which will become carbon smudges and air pockets when Jennifer really gets it hot) provide good thermal insulation. This layer is about 1-2 inches thick, and it dried fairly quickly, cracking as it did. It seems safe to ignore the cracks in this layer.
You should reserve the area right around the door and build it up with the dense cob so that the insulation layer is never right next to the door opening. We will do a better job of this next time we build one, and even with the insulation near the door opening we are doing fine so far.
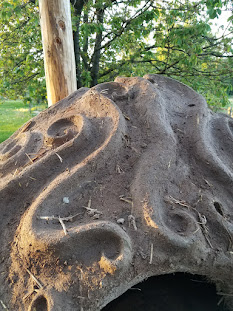
The second layer is done and we are excited to finish it up. Spring has sprung, the sun is out, and we are on our final batch of cob. We used a lot of red clay in this mixture, and plenty of straw to try to make it strong and beautiful.
I'm mostly in charge of the back side of the oven and of carrying cob to Jennifer. She takes care of the front side. We put on a layer about 2 inches thick and this time we make it smooth on the outside, whacking it with hands and a paddle to make sure it all sticks together well and is a pleasing shape.
Then the decorations start. Jennifer spent around 10 hours on this, and Angelina helped with some sea life sculptures around the bottom.


It turns out beautiful!
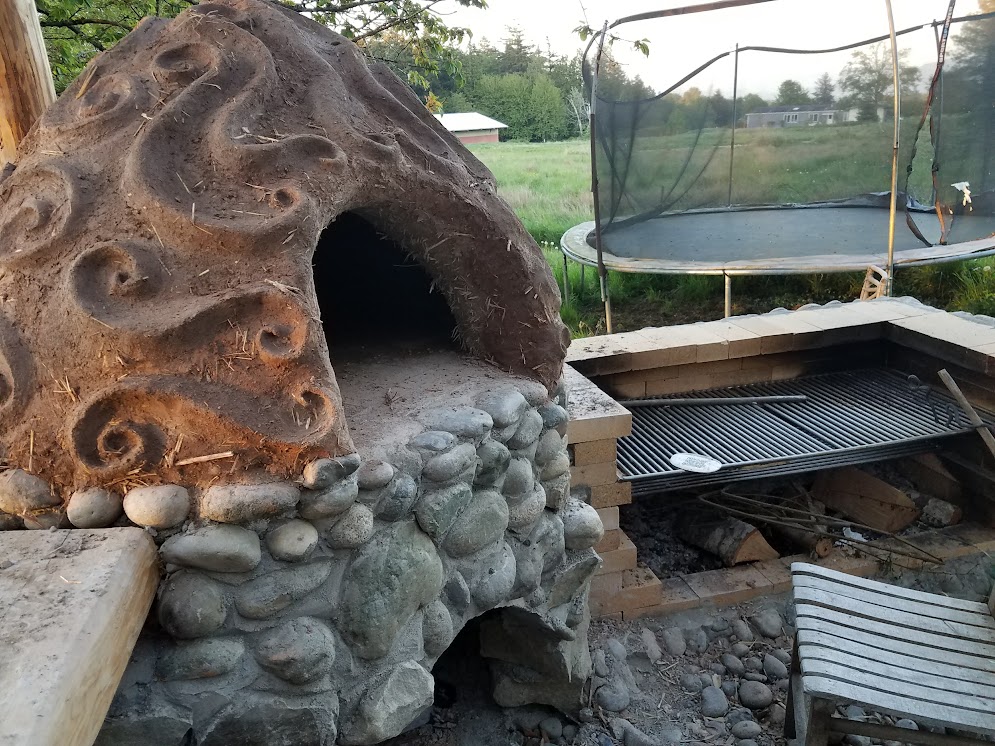
We had originally thought about putting on a final layer of lime plaster, but we liked the color and texture of the red cob layer, and were ready to be done, so we skipped that part. We can always add it later if we want, but I don't think we will any time soon.
We still could not light the fire until everything dried out for a few weeks, so I got back to working on the counter top slab. Now that the mud work was done, it was time to clean it up and varnish it. I used the hand plane to make it flat and smooth, and in the places where there was a larger blemish, I used a sharp wood gouge to make smooth cuts.

Then, lots of sanding, both with an orbital palm sander for the flat parts, and hand sanding for the concave parts. I had a quart of 'Spar' marine varnish from back when I thought I had time to play with a sail boat, and figured if it could handle salt water, it could handle being in an outdoor kitchen. I added about 1/3 extra volume of paint thinner to the first coat in hopes it would penetrate farther into the wood and provide a durable finish. The second and third coat I put on without diluting it. I sanded between each coat, and in the end it seems to be durable and pleasant to use.

Finally, Jennifer agrees that we can start a little fire in the oven. Just a small one, just to see how things go. It has been over a year since we started, and we all sit around and watch this small fire growing an growing as we cannot help but to keep adding twigs and shavings.

To be continued....
No comments:
Post a Comment