
Fall was nice. Jennifer and I got married, we had our annual Apple Cider Party and Thanksgiving Eve Pumpkin Pie Party, and suddenly it was Christmas and we were in Georgia. After a good time with my folks hanging out and making wood crafts in Dad's shop, we came back home to Washington. When the weather cooperated, I started on the rock work again. The goal was to build a nice strong foundation for the cob oven, a fire pit next to it, and a supporting wall for the counter top.
I sunk another truck load of rocks into the north west corner of the structure and started building a circular wall about 4 feet across. I built a wooden form to support the arch so we could have a door in the oven support structure to store firewood. I used another piece of plywood to support the base of the oven floor and filled it in with scrap metal, cement, and rock. The solid part of the oven floor ended up being around 6 inches thick. Later we will layer insulation and fire brick on top. I calculated to have the fire brick floor right at normal counter height for ease of use.


And finally the oven floor support is done!

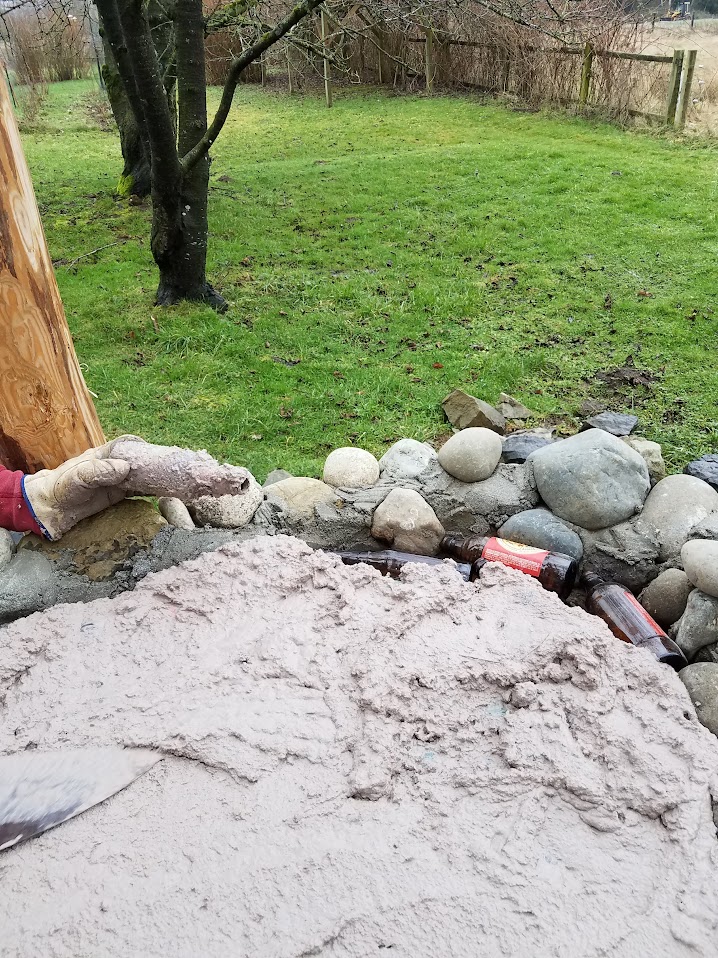
Next I started building up the circular wall again, as well as the counter support wall. When the oven is complete, we will get it hot and then let the stored heat cook the food. So, we want to insulate it as best we can. For the floor, we will put in glass bottles (beer bottles mostly) and pack a mixture of clay and sawdust around them. The air pockets and glass will provide insulation. On top of that goes a small layer of sand to level things out, and the firebricks will go on top of that. I cut a 4-foot pole to use to measure the wall diameter, and used a level to keep things, well, level. Near the top of the oven support I used the river rocks we had set aside. They look better in my opinion and it is easier to get a nice cement finish when working with smooth rocks.
I also started building the fire pit using dry-stacked hard fire bricks backed by stone and concrete. The fire bricks are fairly expensive, and you could probably find them used with a bit of effort, especially if you can make some potter friends.

You might remember the large slab of Fir wood destined to become the counter top. We let it dry out in the sun over the summer and then moved it under the roof when Fall came around. My son Jovan and I used an axe and hatchet to get the slab somewhat smooth.

Next, I bought a $45 electric hand planer and a $60 manual 2-handed jack plane. I didn't have a lot of hope for the electric planer, but it actually did an admirable job of smoothing down the slab. It probably took 2-3 hours of planing, and in the end, it was dull. The manual says you cannot sharpen the extremely small blades, but it turns out you can if you are careful! The slab abides, waiting for its time to shine, and supporting the brick cutting saw in the meantime.
Once the oven floor support walls were finished, we put in the bottles and mixed up the sawdust and clay mixture.
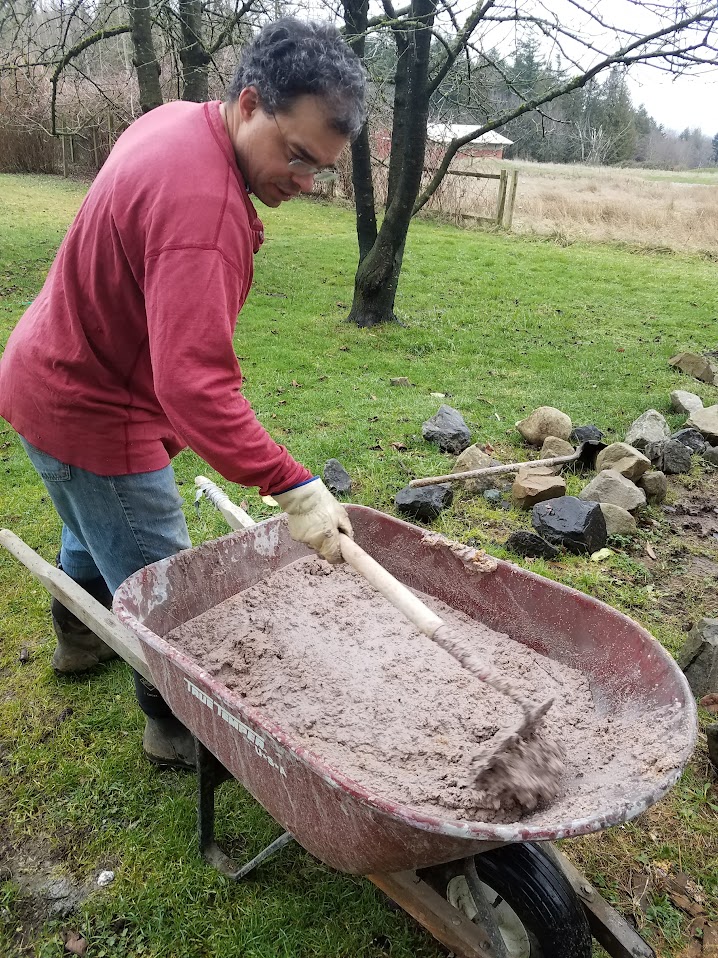
And packed it in tight and level!
Next, it was time to place the counter top. I used a chainsaw to cut out an opening so it could go around the support post and slid it into place. It didn't fit, so I had to take it down and do it again. Fortunately, it was a lot lighter now that it had dried for almost a year. Wooden wedges were driven in under it to support it against the stone work, and I screwed the wedges into the underside of the slab to keep it stable as the wood expands and shrinks with the seasons.

I also finished up the fire pit. I placed some of the bricks perpendicular to the wall and let them stick out a bit to act as grate supports. I think it might help keep the whole wall better connected to the concrete and stone backing as well. If I ever do it again, I think I will probably key every other run instead of every third run in order to have more flexibility with grate height.

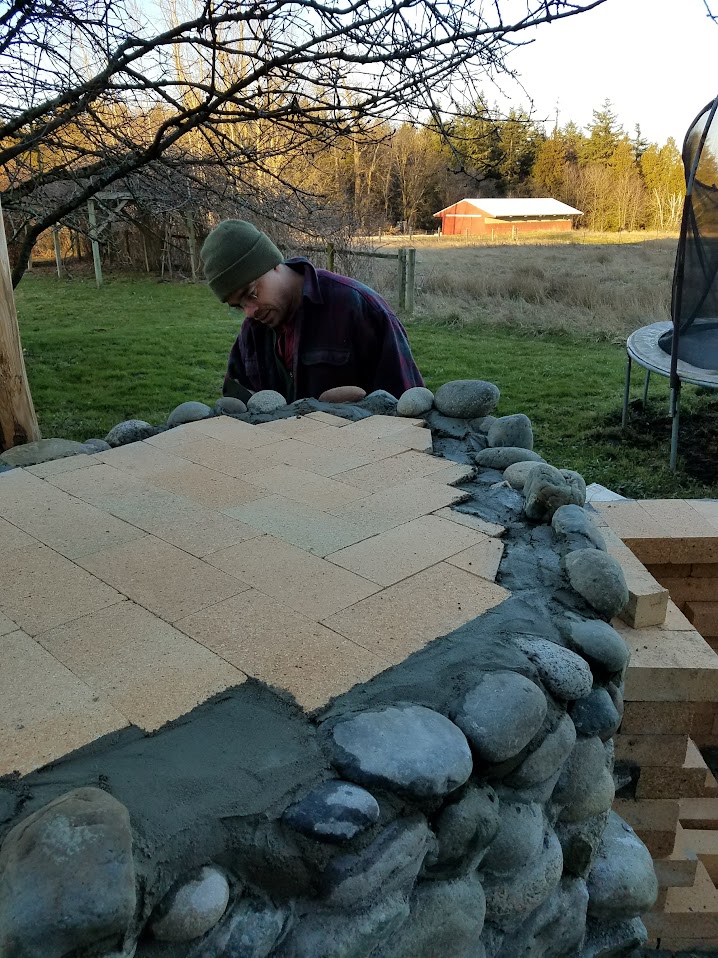
We are anxious to get started on the oven, but we still need to do the brick floor. So we lay the brick on top of the sand (which is on top of the bottles and sawdust & clay). We pack them tight, sliding them down against each other so sand cannot get between the bricks. This will be our cooking surface, so it needs to be done well.

And finally I extend the river-rock wall up to be level with the bricks, taking special care to make the front (future oven entrance) as smooth as possible. It is OK for the other parts of the wall to be a bit jagged, I think that will help support and keep the cob oven walls from shifting.
Next time, we start on the oven!
No comments:
Post a Comment