
The foundation is complete, and now it is time to start making some more visible progress. In addition to scavenging rocks, I started getting some longer poles as well. These were typically 6-10 inches in diameter and 8 to 14 feet long. If you can find trees that grew in a dense stand, they are usually tall and with fewer limbs. If you are lucky enough to have a national forest nearby you can normally get a wood permit to allow you to harvest 'dead and down' trees. For this type of work, green trees are desired, so this means trees that were knocked down somehow and are still fresh.

The logs will last and look much better without the bark, so my son and I removed the bark using a draw-knife. It took us about 10-15 minutes to clean a log of most of the bark, and later I cleaned them up a bit better and smoothed the knots with a chisel. I dried the logs in the garage. The large ones were never light, but they certainly were easier to work with once they dried out a while!

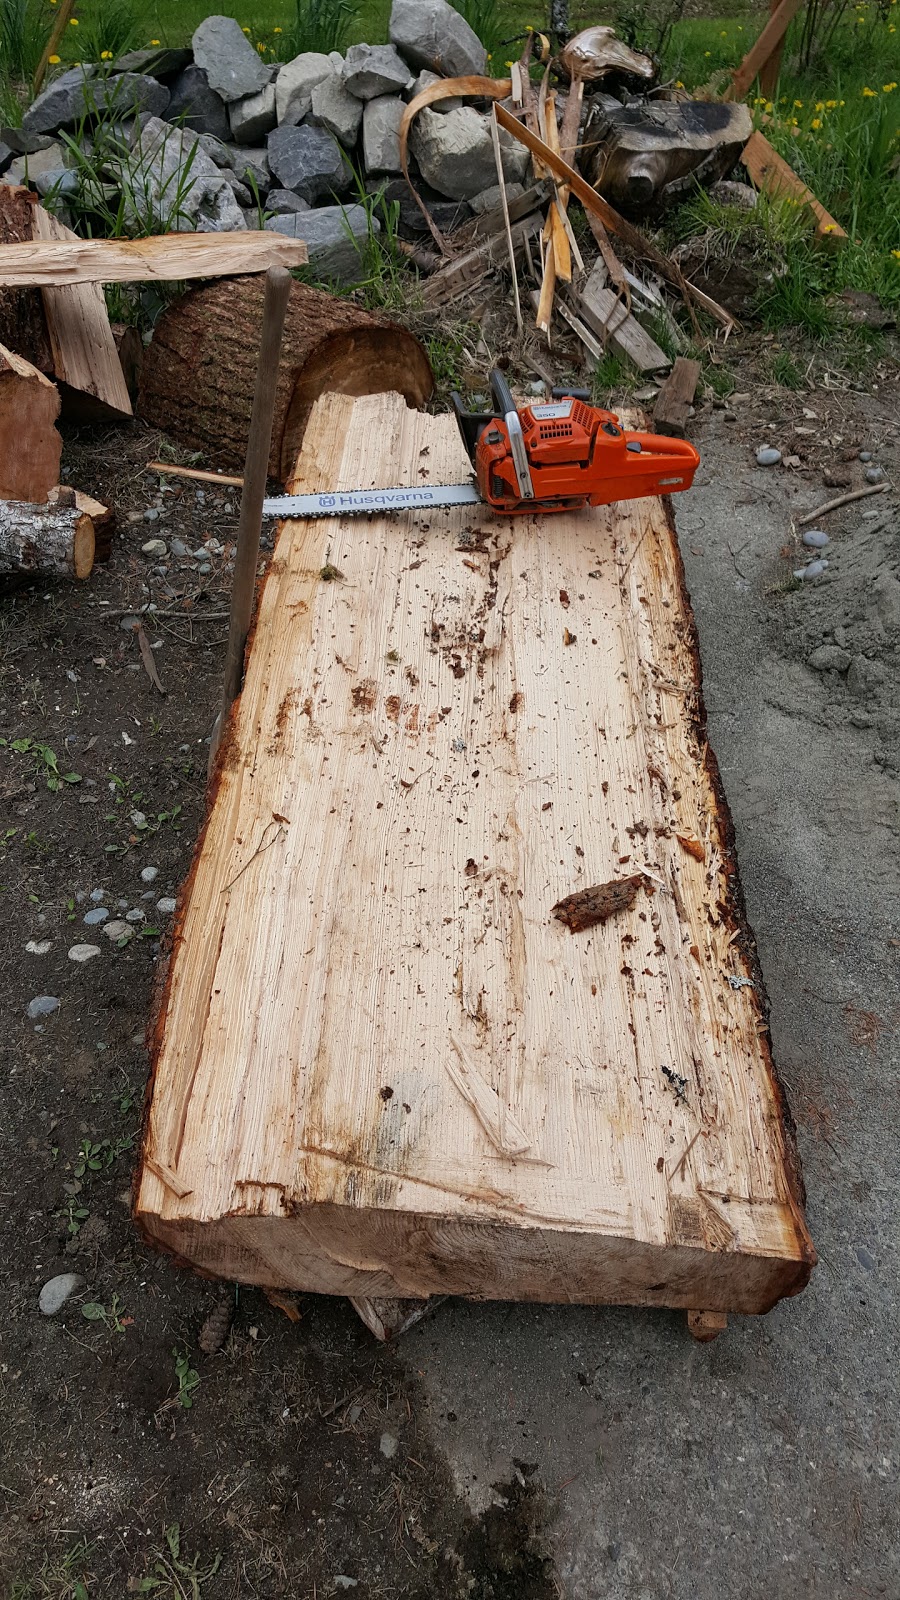
In addition to the structure, we wanted to add a wooden countertop. The kids and I cut off a 6-foot chunk of a large downed fir tree. I cut a good slot in it with the chain saw and then started driving wedges. It was fortunate that we had started moving Jennifer in already, because her chainsaw was large enough to cut the log easily, and she had a bucket of extra wedges. In the end, I had to make more wooden wedges on site to finally split the log. And then it was too heavy to move, so we split off the outside slab again. The log was on the uphill side of the road, so I backed the truck in against the bank and managed with some luck, some ramp boards, and some brute force to slide it down the bank and into the back of the truck. It took around an hour to drive home, and by then the adrenaline had worn off, and I was getting a bit tired and stiff. I tried to slide it out of the truck and could not budge it! I had to cut small roller logs and use the crow bar to wedge them under. It sat in the yard for a month or two slowly drying out and getting lighter!
When we had enough of the logs, we started putting up the structure. I used 12-inch lag bolts to attach the logs together. I notched them a bit to help make them fit nicely. The plan is to make a shed roof, so there is a low side and a high side. We did the slow side first and put it up as a single unit, but that proved quite heavy, and for the high side, we did it post by post with ropes and bracing to help get it done safely. I was very glad to have Jennifer's help in this stage, because it would be quite difficult and dangerous to try to do this by myself.
The vertical posts have holes drilled in them, and their lengths were carefully calculated based on measuring down from the batter-board strings. Since the metal posts were not perfectly centered in some cases, I had to drill off-center holes. And since the concrete pillars were not exactly the same height, I had to cut them different lengths. Mostly this worked fine, but I mis-calculated one of the low sides and now the roof beam will forever be a few inches out of level since it seemed to minor to take everything down and do it again!
I did not want water to wick from the concrete and stone up the posts so I added a small piece of treated 2x4 lumber between the pillar and the beam.


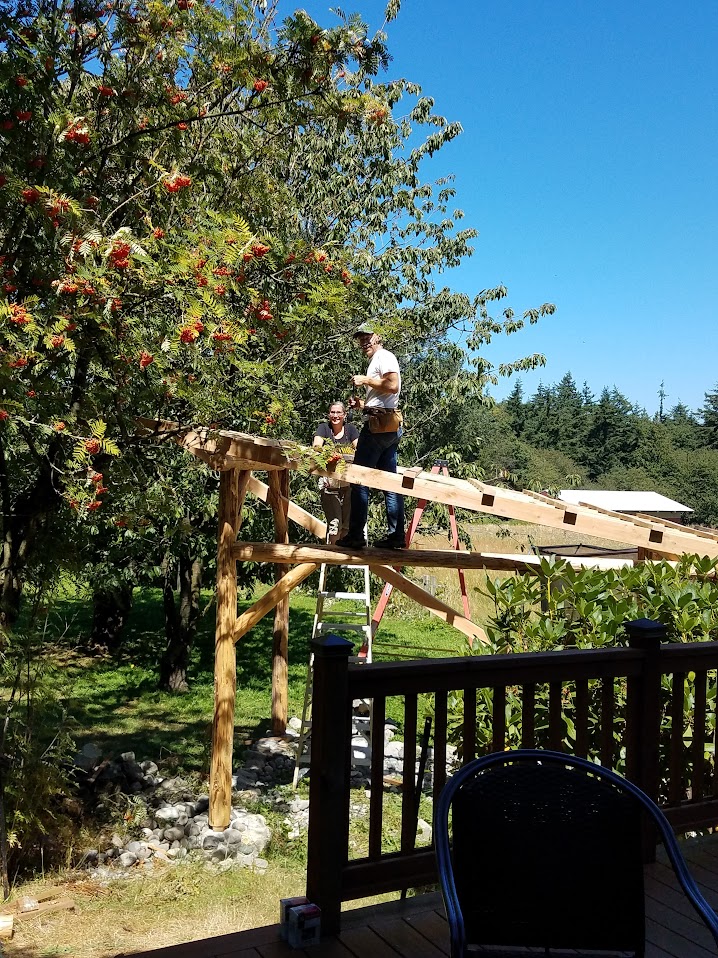
Once we had the verticals and rafter support beams up, we added the beams to complete the upper structure and braced it off. The braces were made from smaller beams connected with some timber-lock screws, which are cheaper and easier to use than the larger lag bolts. So far, they seem to be sufficiently strong to do the job. We tried to do all of this pretty quickly since the structure is weak until we get all the beams connected and braced.

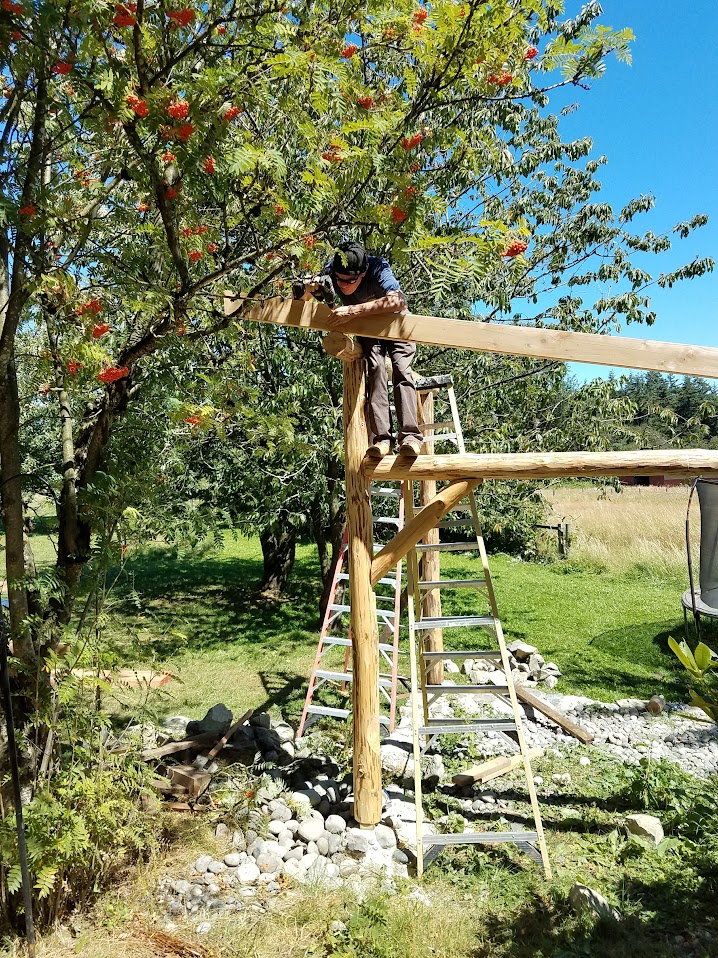
The roof system is supported by 4 x 8 fir beams from the local lumber yard. Fortunately Dad was in town for this part and no one let him know he should be retired from this sort of work already so up he went! We screwed these down into the log with some long decking screws. It seemed better than just using nails and was easier to accomplish than nailing.
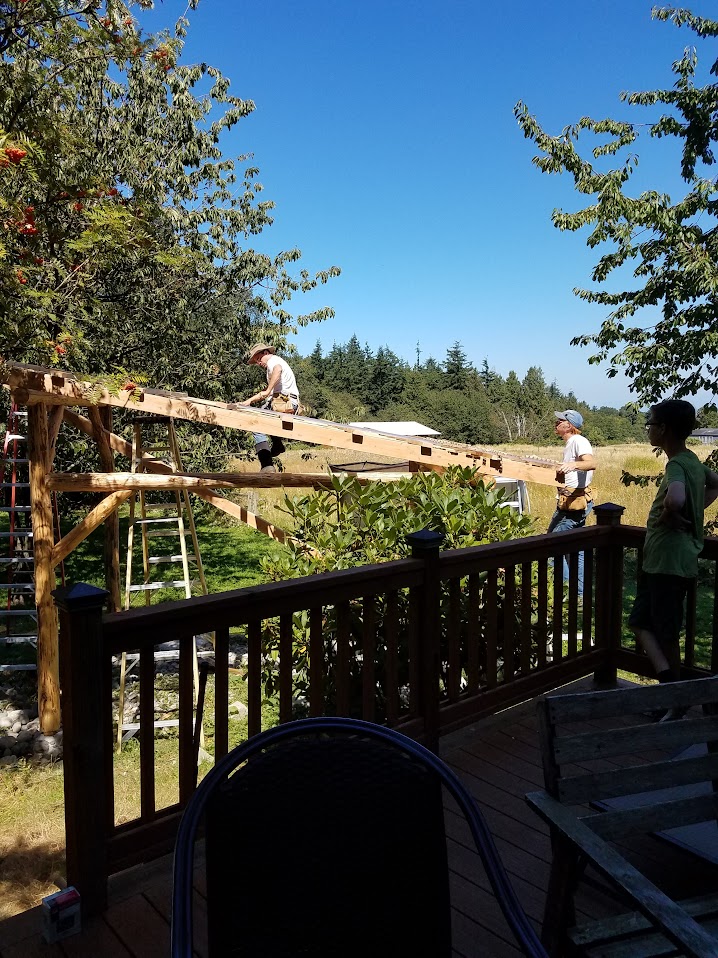
Finally, the beams are up! We will add 2x4 cross-supports to hold the roofing material. For that, we had some local help from our good friends Ellen & Reed. We wanted lots of light, so we went with poly-carbonate roofing, which hopefully will remain clear unlike older clear fiber glass roofing.
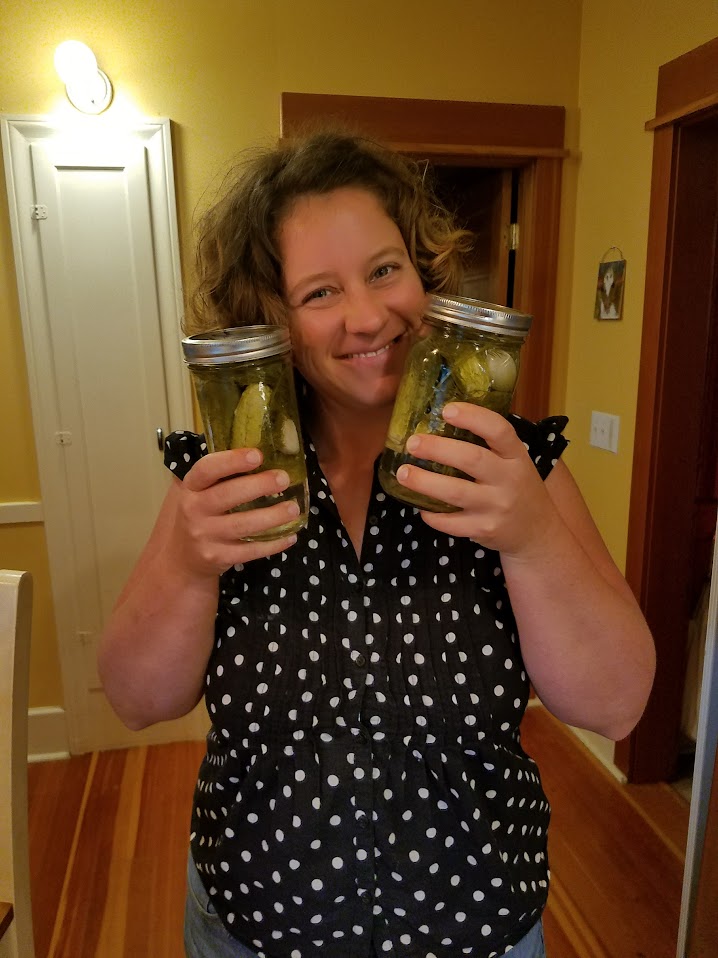
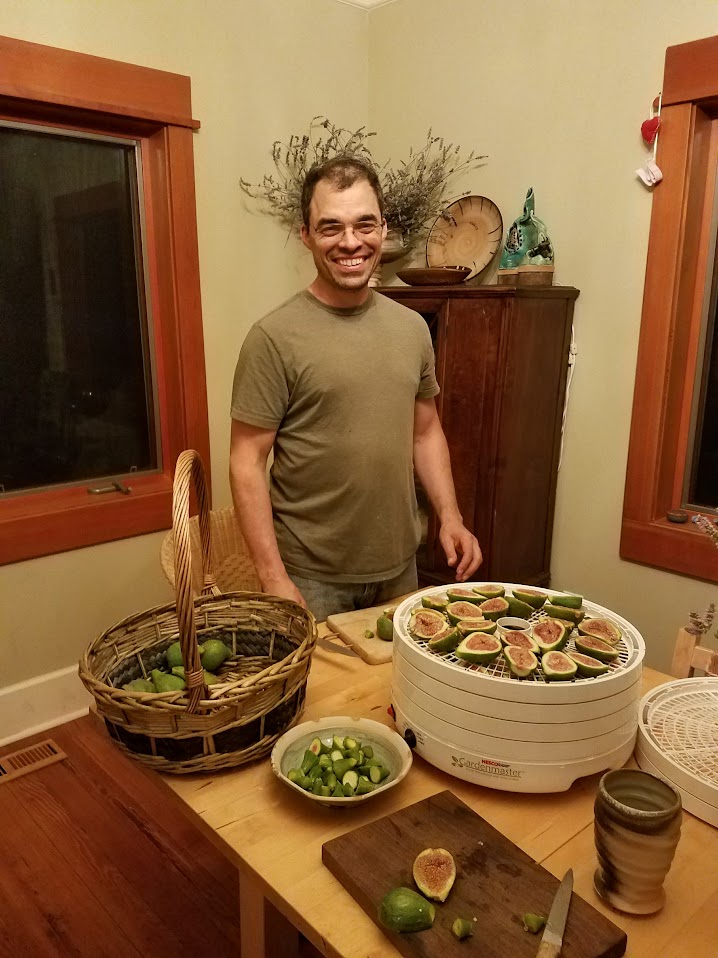
By this time, the garden harvest was coming in with great abundance. Jennifer made pickles and preserves and jam for days on end. We took a break from the kitchen project for a while and enjoyed the late summer!
But the weather will turn again, then fall is a good time for concrete work!
No comments:
Post a Comment