
In the spring of 2017, life was busy. I was getting used to being single again, and at the same time getting ready to be married again. It was a good time for some heavy labor and a large project to help focus my thoughts on the better parts of life.
I had pondered building a good pit barbecue in order to make some good Southern pulled pork for a number of years, and my new love Jennifer had been thinking about building a cob oven for even longer. We agreed on a nice location next to our back porch and combined our two plans. We would have a covered area, around 9 x 12 feet dimensions, with concrete and stone foundation, pole and beam construction for the roof, with a fire pit and cob oven.
As luck would have it, the winter of 2017 gave us a significant ice and wind storm up near Mt Baker and there were trees (and rock slides) down all over the place. When I woke up at 5 in the AM unable to sleep, it was a perfect time to drive up and grab a load and be back in time for work.

I grew up building things with my Dad, and I just cannot help but dig real footer when I start on a structure. In this case, since we planned to support a large stone and cob oven, it was well worth the effort I think. My kids helped me place the batter boards and measure the diagonals in order to true in a square framework to build against. The nice thing about this arrangement is that you can easily take down the strings to work on the walls and put them back up to check your measurements. The boards should be far enough outside the building area that they are not in the way.
I was thinking we would end up with an earth and gravel floor, so I also dug a french drain on the uphill side in order to channel any water around the structure and foundation.
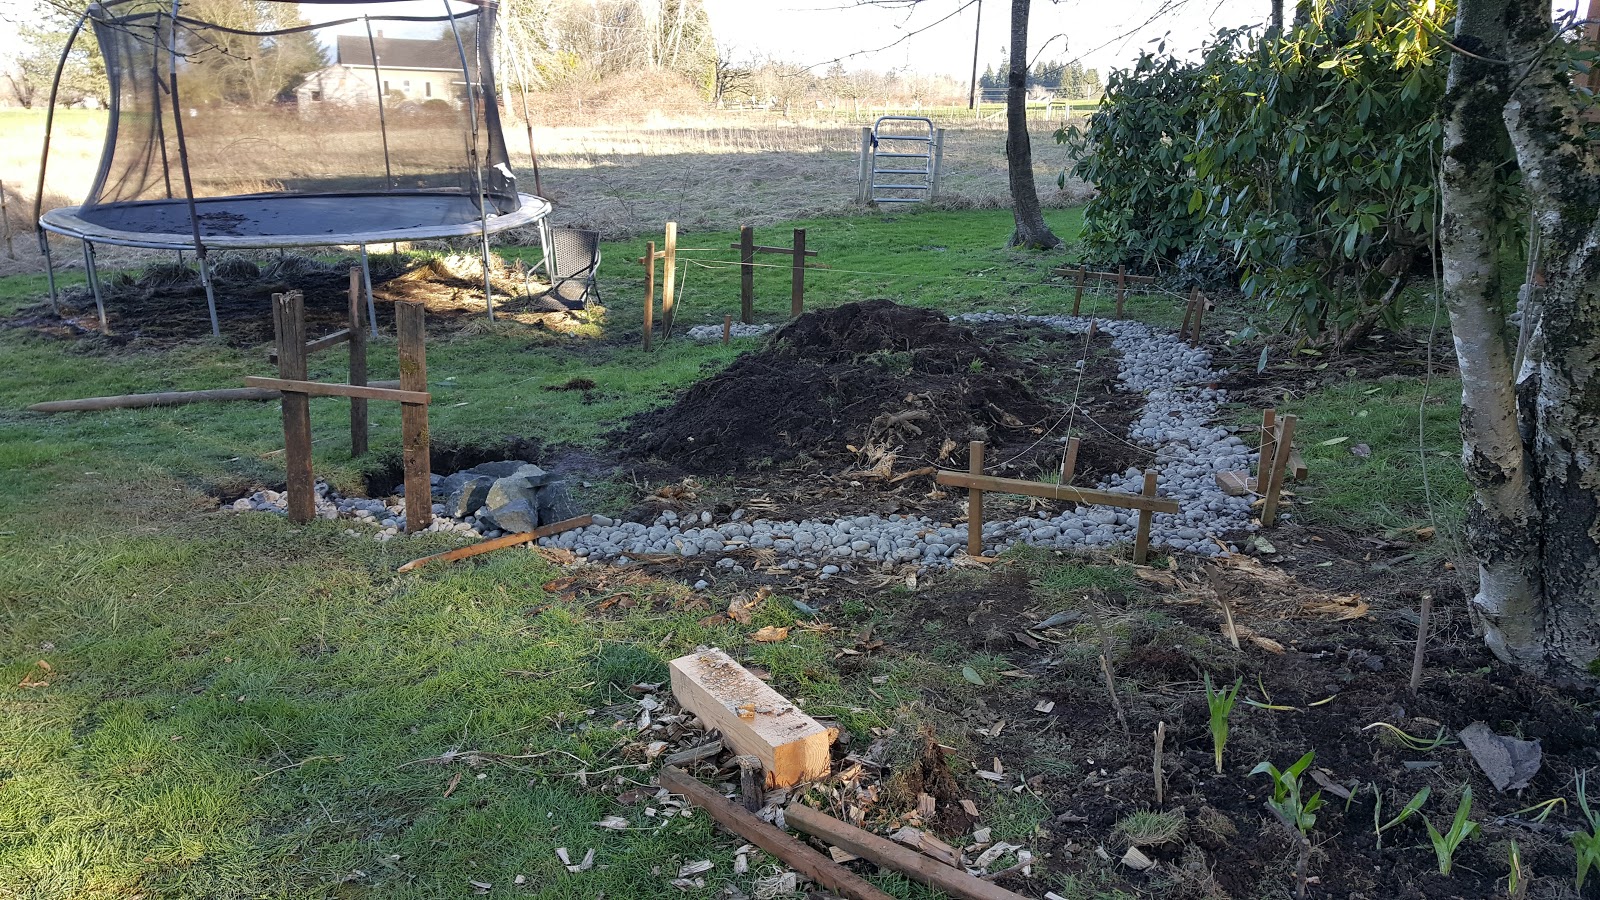
I dug about 2 x 2 foot footers for the corners, down about 12 inches and filled them with rocks and concrete. Trick of the trade: square off the corners and sides and bottom of your footers so that the eventual block of concrete and stone is square. That makes it less likely to want to roll in the future. When nearing the top of the corner pier, I set in a large steel bolt that will later be used to hold the structure's vertical support in place. Use your batter board strings to set these as close to centers as possible, it will make everything easier if they are on center.
Fortunately, there were plenty of rocks available. When scavenging for stone, you should NOT get stones from in or near streams. It is generally against the law and it will often erode and pollute the stream. River rocks do look nice though, so I bought 6 yards of mixed cobbles from the local rock store. Mixed cobbles are around $40 per yard, where sorted river rocks are closer to $500 per yard. The kids and I sorted them, using the smaller gravel to fill the french drain and for related projects. The larger ones (about fist size and larger) were set aside for later use.

I use cement for mortar instead of 'mortar' mix. Cement is stronger and is what I am used to using. To make it, you get a bag of Portland cement (94 lb bags typically, lift with your legs!) and a bunch of sand. I think it works out to about 5 bags of Portland per cubic yard of sand. The ratio is 3 parts sand, one part Portland. Mix it dry in a wheelbarrow with a hoe and then add water. When you are filling trenches with rubble, you can mix it pretty soupy, but when you start laying rock walls then you need it to be fairly stiff in order to hold in place while you set the stone. When building up walls, it is easiest to do 1 or two courses of stone at a time, so build wide and let it dry for a day and then put on another layer. It takes practice in order to make it look nice, but even with modest skill you can at least make it strong!

Coming up next...out of the ground!
Well of course you are building this.
ReplyDelete